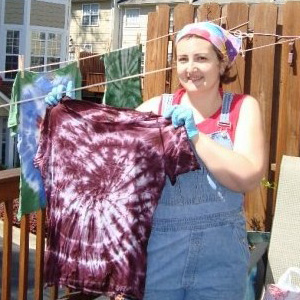
 Tie-dying has long been a favorite craft project of mine. It brings back fond memories of summer camp where I was first exposed to the concept. I love the anticipation of viewing and then wearing your own creations.
There are several great resources on how to tie dye. Google “how to tie dye” and several thousand come up, including YouTube videos with some great technique instructions.
Here are some basic tips and instructions. Show the world your talent!
SUPPLIES
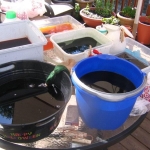
- bucket or tub for each color (at least 2 gallon)
- dye
- salt (for most dyes)
- laundry detergent (add to dye per instructions)
- rubber gloves for all participants
- rubber bands or string
- T-shirts, socks, shorts, cloth diapers or any other clean, light-colored cotton garment (other materials work, but cotton works best with most dyes)
- long-handled spoons to stir dye pots (might get stained)
- plastic bags
- clothesline or dryer
TIPS
- Consider the ages of the participants. This project may work better for older children (5 and up).
- Consider where you are going to do this project. It’s easiest if you have an outdoor area to place items in the dye and a water hose or a sink that’s close to the door. Otherwise, you may have to carry the wet, dyed items across a room to rinse them.
- It is helpful to have more parents than children for this project. That way, there will be enough adults to supervise each child sufficiently.
- Consider asking members of the group to make a minimal donation to help cover costs of supplies. We asked for $2 from each parent.
- Ask your participants to bring their own garments to dye. Encourage them to bring stained T-shirts since the dye will cover any discolorations.
- Before mixing the dye, check the dye manufacturer’s Web site. We used Rit and were able to find specific instructions and how-to directions for the process and patterns at www.ritdye.com.
- Mix the dye before your guests arrive. Rit Dye requires boiling water and salt. Make sure you stir the dye until all particles are thoroughly dissolved. If you don’t, it can leave some undesirable dye spots on your garment.
- Start with the lightest color dye.
- Leave the garment in the dye until it’s slightly darker than you want the final product.
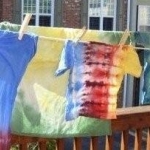
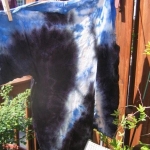
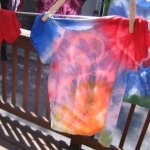
- After you remove the bands or string, hang the garment to dry.
PATTERNS
Spiral
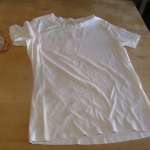
- Lay shirt flat
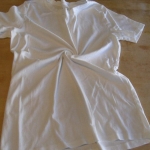
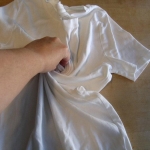
- Pinch in the middle (use a clothes pin to make it tighter)
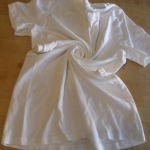
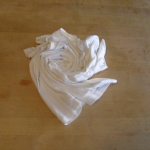
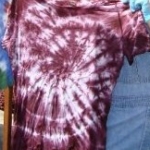
- Twist your pinch until the entire garment in a spiral
- Use rubber bands to hold your spiral
- Can be dyed a solid color or dip different sections for multiple colors
Tri-color dip
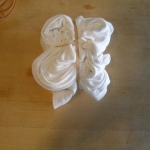
- Fold your garment up accordian style
- Put a rubber band on each end of the garment dividing it into three sections
- First dip and hold the middle section in a color
- Then dip and hold the ends in the colors of your choice
Sunburst
- Lay shirt flat
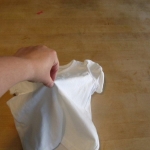
- Pinch it in the middle and lift it
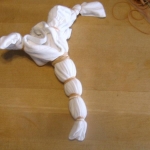
- Place rubber bands over the length of the garment so you have a long snake
- Can be dyed a solid color or dip different section for multiple colors
Scrunch
- Lay shirt out flat
- Scrunch it up into a ball
- Put rubber bands all around it
- Can be dyed a solid color or dip different section for multiple colors


